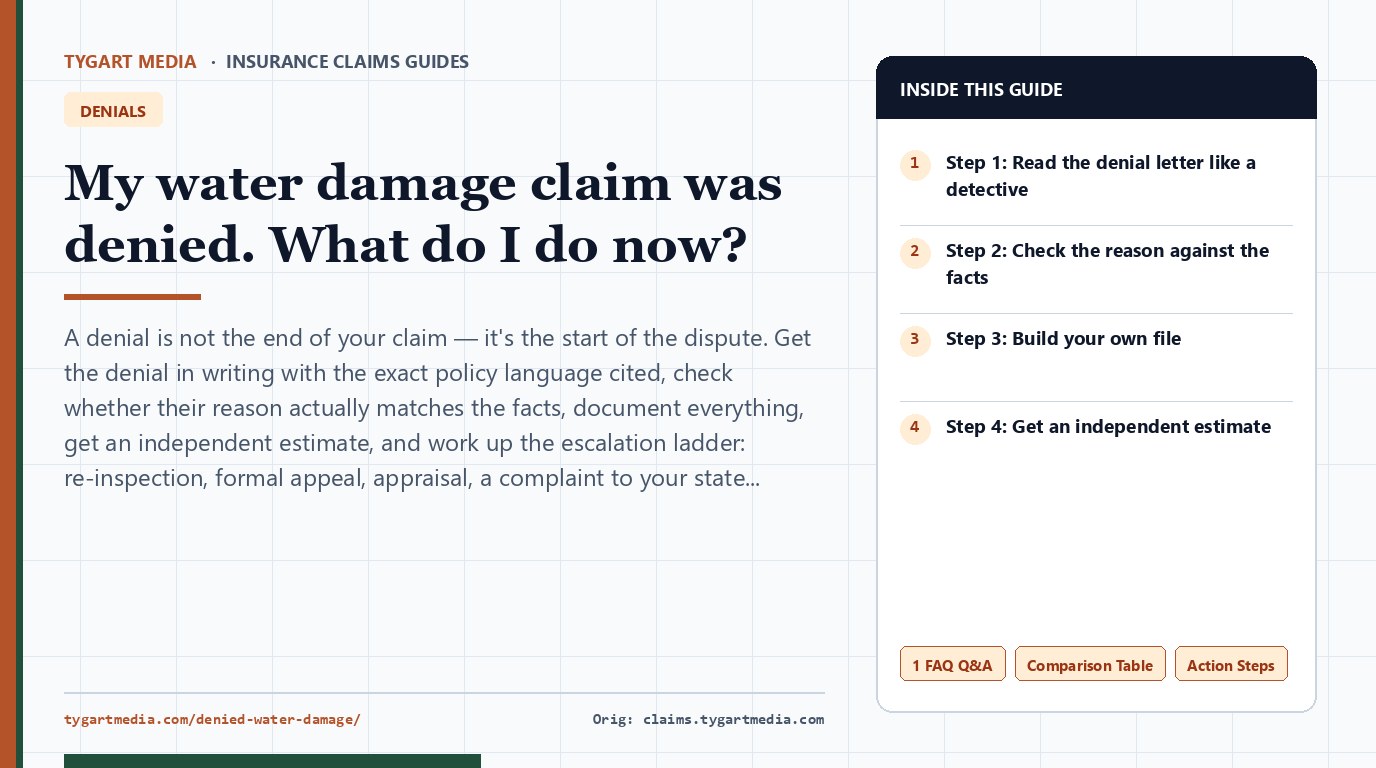
Tygart Media · Insurance Claims Guides · Denials
Step 1: Read the denial letter like a detective
The letter should state the specific reason for the denial and cite the exact policy language — the section and exclusion it relies on. If it doesn’t, ask for that in writing. Vague denials (“not covered under your policy”) are the weakest kind, and they’re the easiest to challenge.
Pull out your actual policy and read the cited section yourself. Denial letters sometimes stretch policy language further than it goes. You don’t need to be a lawyer to compare what the letter says with what the policy says.
Step 2: Check the reason against the facts
Most water damage denials fall into a few buckets. Each one is checkable:
- Sudden vs. gradual. The most common dispute. Policies cover sudden and accidental water damage (a burst supply line) but not long-term leaks. If the damage was sudden, say so clearly and back it with evidence — when you first noticed it, photos with timestamps, a plumber’s statement about the failure point.
- Flood vs. water damage. Standard homeowners policies exclude flooding (rising water from outside). But water from a burst pipe, an appliance failure, or rain entering through storm-damaged roofing is a different category. The words you used on the first call matter — check what got written down.
- Wear and tear / maintenance. Insurers deny when they believe the damage came from neglected maintenance. If the failed component was within its normal lifespan or you have maintenance records, that’s your counter-evidence.
- Late notice. Policies require prompt reporting. If you reported as soon as you discovered the damage, document the timeline.
Step 3: Build your own file
From this moment on, assume you’ll need to prove everything twice. Photograph all damage before any repairs. Save every email and letter. After every phone call, send a follow-up email summarizing what was said. Keep receipts for any emergency mitigation — tarps, water extraction, drying equipment — because most policies require you to prevent further damage, and those costs are often reimbursable.
Step 4: Get an independent estimate
Bring in your own licensed contractor for a detailed, line-item estimate of the damage and repair scope. This does two things: it gives you a real number to compare against the insurer’s position, and it gives you an expert who can be present at a re-inspection. More on challenging low estimates →
Step 5: Climb the escalation ladder
- Ask for a re-inspection — with your contractor present. New evidence or a second look changes outcomes more often than people expect.
- File a formal written appeal with the insurer, attaching your documentation and the independent estimate. Keep it factual and cite the policy language.
- Invoke the appraisal clause if your policy has one — each side hires an appraiser, and they pick an umpire. It resolves disputes about the amount of loss.
- File a complaint with your state insurance department. Regulators track complaint patterns, and insurers respond to regulator inquiries. This costs you nothing.
- Talk to an attorney who handles insurance disputes — many offer free consultations, and some states allow policyholders to recover attorney fees. Public adjuster vs. attorney →
Common denial reasons — and the response
| Denial reason | Your response |
|---|---|
| “Gradual damage / wear and tear” | Prove suddenness — maintenance records, photos with dates |
| “Flood exclusion” | Was it really flood? Burst pipes and appliance leaks aren’t flood |
| “Mold exclusion” | Tie the mold to a covered water event, not to neglect |
| “Late reporting” | Show when you discovered it — discovery date, not leak date, often controls |
Get The Signal
What we actually ran, what it measured, and what it means for a restoration shop — every week, including the flops.
Leave a Reply