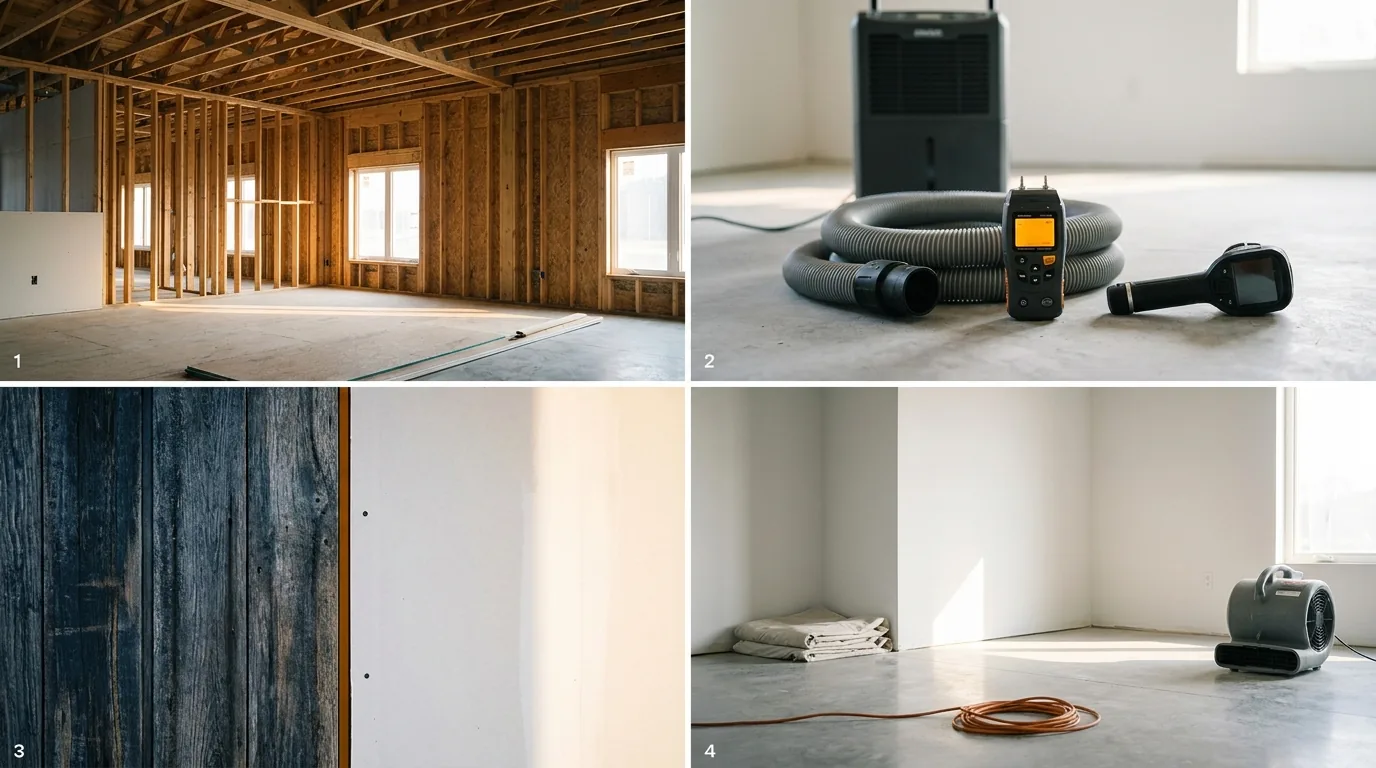
The restoration software landscape in 2026 has consolidated into four recognizable categories. The wrong choice will cost a restoration operator three to five years of integration debt. The right one will quietly compound margin and visibility for the same period.
This is a buyer’s framework, not a vendor ranking. Vendor names move quickly in this market through acquisition and rebranding. The categories below are stable, and the selection criteria are durable.
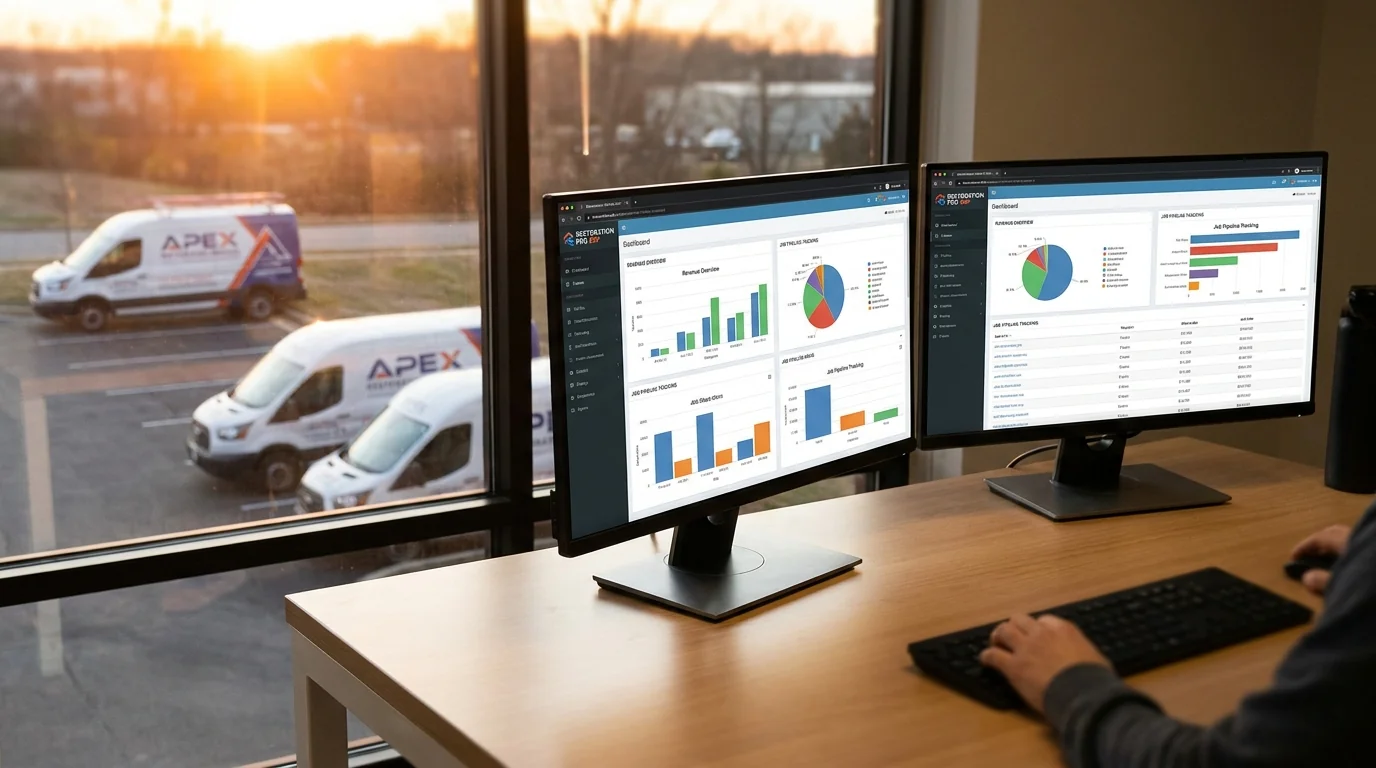
The Four Categories of Restoration Software in 2026
When operators talk about “restoration ERP” or “restoration sales software,” they are usually referring to one of four distinct categories that solve different problems:
- End-to-end restoration ERPs — single platforms covering CRM, job management, scheduling, estimating, photo documentation, accounting integration, and reporting. The dominant choice for shops above roughly $5M revenue that want one system of record.
- Sales-focused CRMs — platforms purpose-built for the commercial cultivation cycle, account mapping, and sales-pipeline management. Often paired with a separate job-management tool.
- Job-management platforms — systems focused on the production side: dispatch, technician documentation, customer signatures, estimating, photo capture. The dominant choice for shops where production discipline drives the business.
- Best-of-breed point tools — moisture mapping, photo documentation, equipment tracking, communication, scheduling — each from a separate vendor, integrated through APIs or middleware.
The first selection question is which category fits the shop, not which vendor. Most software regret in the restoration industry comes from buying a vendor in the wrong category for the operating model.
How to Choose the Right Category
The right category is a function of revenue scale, operating model, and growth direction. A working framework:
- Under $2M revenue, residential-led: a job-management platform plus a basic CRM is usually sufficient. Full ERP is overhead the shop cannot absorb.
- $2M to $5M revenue, mixed residential and commercial: a job-management platform with a strong sales module, or an ERP with a clear sales workflow. The decision tilts on commercial growth ambition.
- Above $5M revenue, multi-location or commercial-led: end-to-end ERP becomes the practical choice. The cost of stitching point tools together exceeds the cost of the ERP.
- Heavy commercial sales motion: a dedicated sales CRM is often added regardless of the production platform, because commercial cultivation requires functionality production-led platforms do not prioritize.
The Six Selection Criteria That Actually Matter
Vendor demos make every platform look comparable. The differentiators show up in production. The six criteria that separate platforms operators stay on from platforms operators leave within 24 months:
- Documentation discipline. Does the platform enforce the documentation standard your insurance work requires, or does it allow technicians to skip critical fields? The IICRC S500 2026 documentation expectations make this non-negotiable.
- Estimating integration. Does the platform connect to the estimating tool your shop uses (Xactimate, Symbility, or alternatives) without a manual re-key? A re-key step is where margin leaks.
- Accounting integration. Does the platform write clean records into QuickBooks, Sage, or NetSuite? Without this, your controller is rebuilding the books every month.
- Mobile reliability. Does the technician-facing app work on a job site with intermittent connectivity? Field-side reliability is the most common reason adoption stalls.
- Sales pipeline depth. If you have a commercial sales motion, does the platform support named accounts, multi-contact account mapping, and stage-based cultivation? Most production-led platforms do not.
- Reporting and forecasting. Can ownership see revenue forecast, gross margin by job type, and sales pipeline in one view, or are these stitched together in spreadsheets?
The Hidden Cost: Implementation
The license fee is rarely the largest cost of restoration software. Implementation, data migration, and the productivity dip during the cutover typically run 1.5x to 3x the first-year subscription cost. Operators who underestimate this number end up on the platform without ever fully implementing it, which produces the worst possible outcome — paying for software no one trusts.
The mitigations are well known: dedicate an internal champion who owns the rollout, plan for a 90-day cutover with parallel operation, and stage the implementation by department rather than going live everywhere at once.
The AI Question
Every restoration software vendor in 2026 is shipping AI features — automated photo tagging, voice-to-documentation, sketch generation from job photos, and project estimation assistance. The honest assessment is that the AI features that hold up in production are the ones that automate documentation entry, not the ones that promise to “do estimating for you.” Operators evaluating platforms in 2026 should weight the AI features by their effect on technician documentation discipline, not by demo polish.
Switching Costs Are Real
The cost of switching restoration platforms after 18 months on one is high — historical job data, customer records, and team training all get disrupted. This argues for thorough selection, not for paralysis. Most operators who report regretting their software choice cite either rushing the decision or buying for a future state of the business that never arrived. A platform that fits the next 18 months and is extensible into the next 36 is a better choice than the perfect platform for a future that may not happen.
Frequently Asked Questions
What is the difference between a restoration ERP and a job-management platform?
An ERP covers the full operating system of the business — CRM, sales, job management, accounting integration, reporting — in one platform. A job-management platform focuses on the production side — dispatch, technician documentation, estimating, photo capture — and typically pairs with a separate CRM and accounting system.
When should a restoration company invest in a dedicated sales CRM?
When the commercial sales motion requires named-account cultivation, multi-contact account mapping, and stage-based pipeline management at a depth that production-led platforms do not support. Shops with serious commercial growth ambition typically run a dedicated sales CRM regardless of their production platform.
How much should I budget for restoration software in 2026?
License fees vary widely, but a working budget for a mid-sized restoration operation is 1% to 3% of revenue for software, with implementation and training adding 1.5x to 3x the first-year subscription cost in year one. The total software stack typically replaces a measurable amount of administrative labor, so the net cost is usually lower than the gross spend.
Should I integrate AI tools into my restoration software stack?
The AI features that hold up in production in 2026 are the ones that automate documentation entry — photo tagging, voice-to-documentation, sketch generation. AI features that promise to replace estimating or scoping judgment are not yet reliable enough to depend on. Evaluate AI by its effect on technician discipline, not demo polish.
How long does a restoration software implementation take?
A realistic implementation runs 90 days for a mid-sized restoration operation, with parallel operation against the legacy system for the first 30 to 60 days. Compressing the timeline below 60 days typically produces an incomplete implementation that erodes platform trust within the first year.
For more on the technology layer of running a restoration business, see Restoration Tech Playbooks.