Most residential restoration shops that try to add commercial work fail. Not because the work is too hard. Because they treat commercial as a larger version of residential, and it is not. It is a different business with a different sales motion, different pricing math, and a different operational model.
This is a market-entry guide for the residential-led restoration shop that has decided commercial is the next growth direction. It is written to surface the structural differences before you commit, and to give you a sequence that has worked for operators who made the transition successfully.
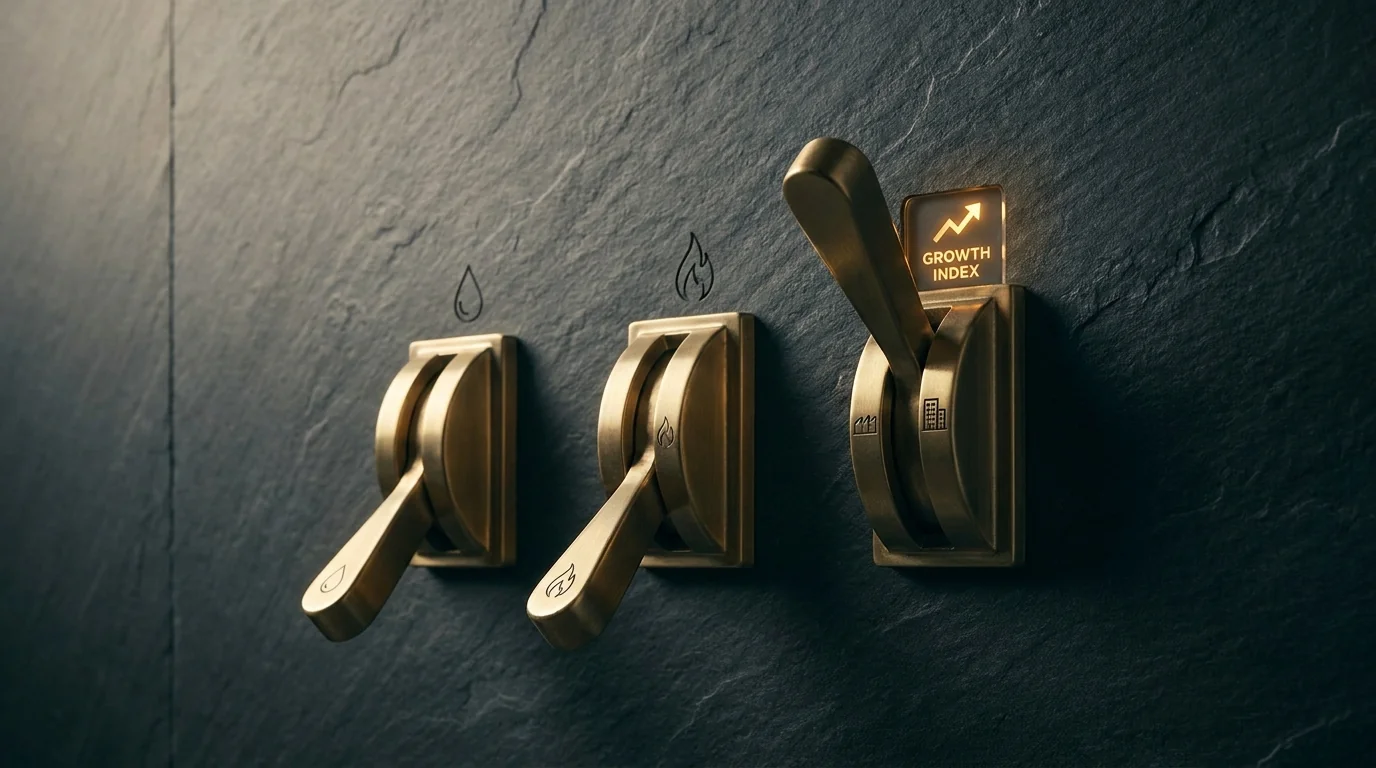
The Five Structural Differences
Before the sequencing, the differences. Each one becomes a failure mode if ignored.
- The buyer is not the property manager alone. Commercial buying decisions involve a buying committee — property manager, asset manager, risk manager, facilities, sometimes a TPA. Selling to one persona and ignoring the others is the most common reason commercial bids are lost.
- The sales cycle is months, not minutes. Commercial accounts are cultivated over six to eighteen months. Residential FNOL response can close a job in hours. The patience and process required are different.
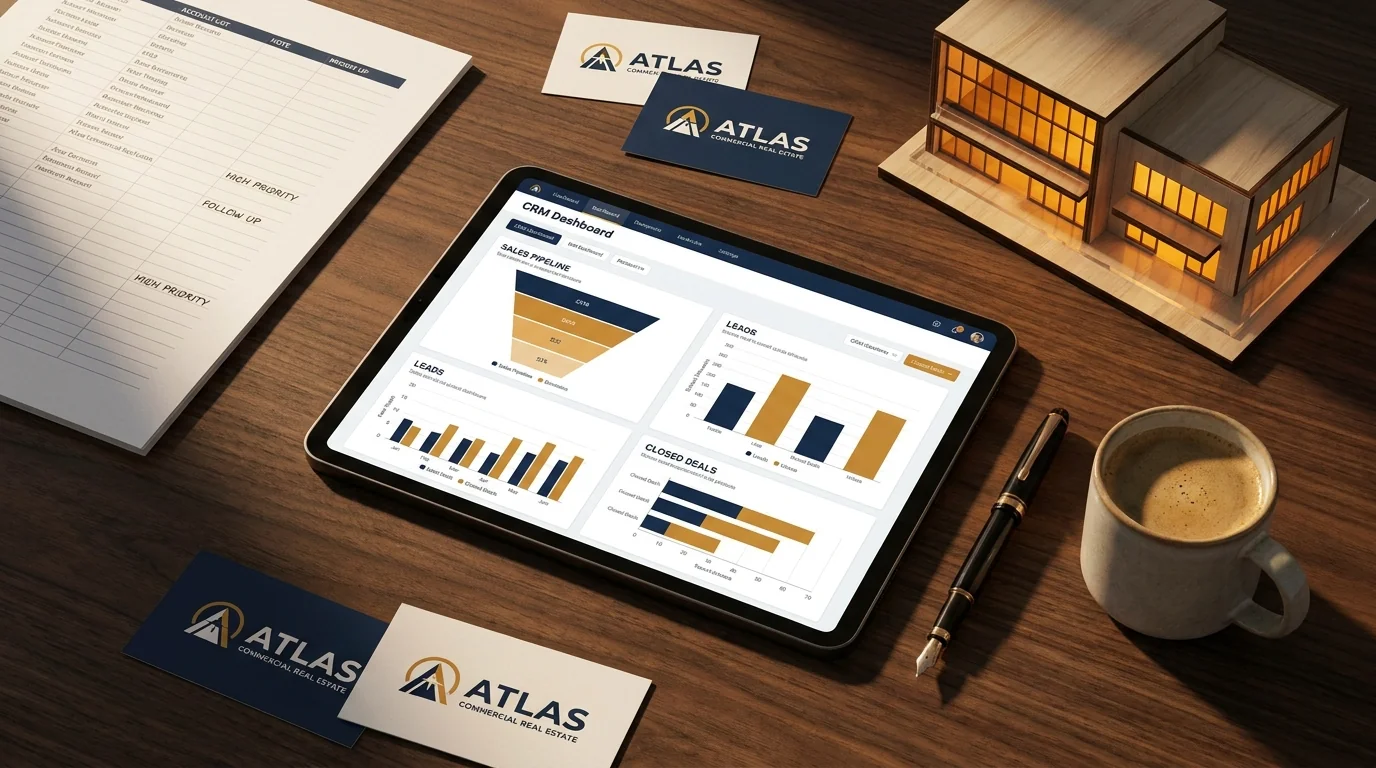
- The documentation expectation is materially higher. Commercial work, particularly larger losses and any litigation-adjacent work, demands documentation discipline that residential workflows do not require. Shops without documented production processes get exposed quickly.
- The pricing model varies. Commercial work mixes carrier-priced jobs, time-and-material, master service agreements, and TPA-program rates. The line-item-only pricing model that works residentially does not translate.
- The capacity demands spike. A single commercial loss can require equipment and technician deployment that exceeds a residential shop’s standing capacity. The decision of whether to surge, decline, or partner is structural.
The Six-Stage Market-Entry Sequence
The shops that have made the residential-to-commercial transition successfully tend to follow a recognizable sequence. The order matters.
Stage 1: Operational Readiness Audit
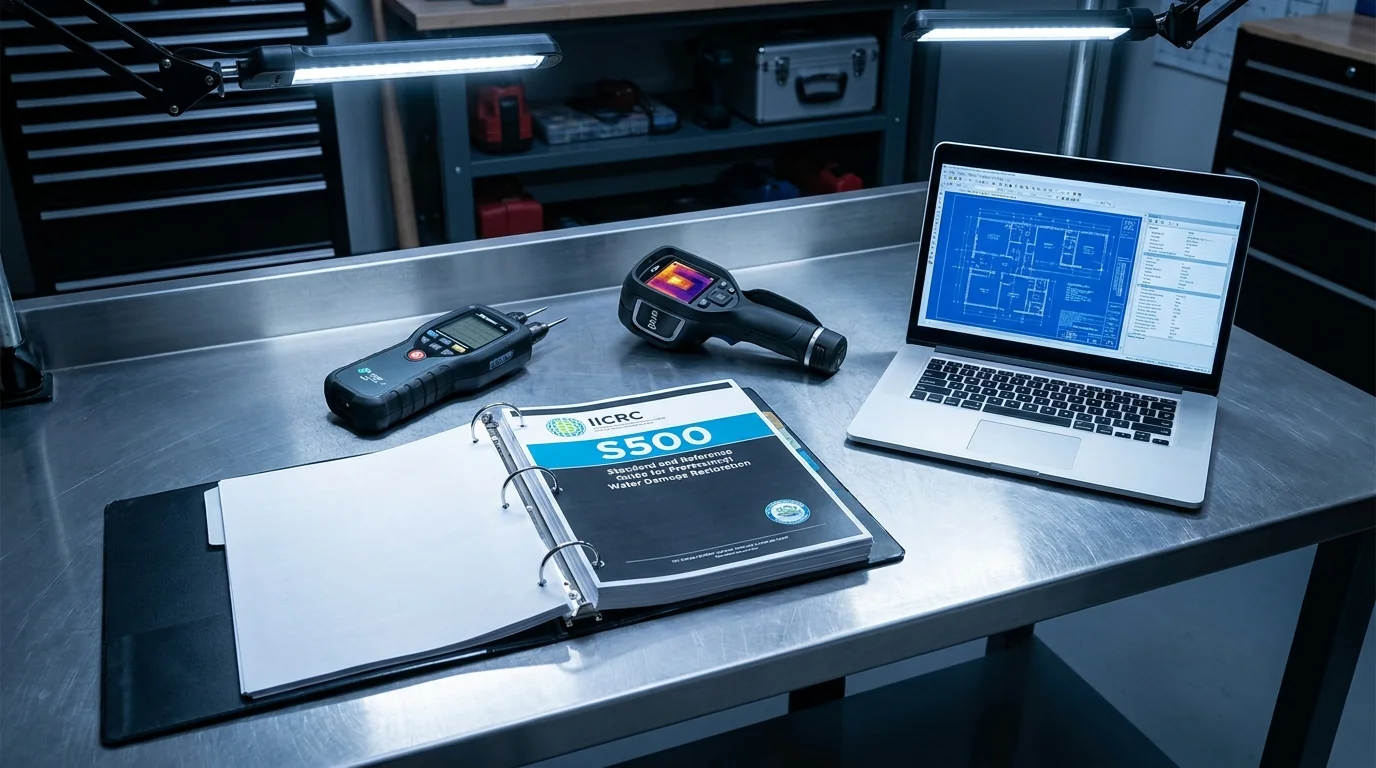
Before any commercial sales effort, audit the operational baseline. The questions: do your production processes produce documentation that would survive a litigation review? Do you have the equipment capacity to handle a commercial loss without disrupting residential service? Do your technicians hold the certifications — IICRC ASD, AMRT, FSRT — that commercial buyers expect to see? Do you carry the insurance limits and safety documentation commercial onboarding will request?
If any of these answers is no, fix the gap before approaching commercial accounts. A shop that wins commercial work it cannot deliver damages its reputation in a small market.
Stage 2: Network Membership
Join the chambers, BOMA chapter, IFMA chapter, and CoreNet local group in your market. The commercial buying community is networked. The shop with no presence in those rooms is invisible. The shop with a regular, trusted presence over twelve to twenty-four months becomes a recognized name in the local commercial property community.
Stage 3: Insurance Broker and Agent Relationships
Identify the insurance brokers and agents who write commercial property in your market. They are gatekeepers to a meaningful share of commercial restoration work. The relationship is not transactional — it is a long-cycle introduction-and-trust process. Brokers introduce restoration vendors to their commercial clients only after they trust the work product.
Stage 4: Named-Account Cultivation
Build a target list of 40 to 75 commercial accounts in your market — property management groups, large owner-occupiers, healthcare and food service operators, and corporate real estate teams. This is the named-account list that will produce your commercial pipeline over the next 18 months. The list is more important than any single account on it. Cultivate the list quarterly with risk-framed educational content, pre-loss site walks, and tabletop exercises.
Stage 5: First Commercial Job
The first commercial job is the trial. It does not need to be large. A small after-hours response or a moderate water mitigation for a managed property is enough to prove the operational claims made during cultivation. Treat the first job with disproportionate care — documentation, communication, and post-job review — because it produces the reference that unlocks subsequent work.
Stage 6: Account Expansion
The second commercial job at the same account is more valuable than the first. Account expansion — moving from one property to a portfolio, from one persona to the buying committee — produces the long-term revenue compounding that justifies the commercial entry decision. A 30-day post-job review with the property manager and the risk contact is the most undervalued account-expansion tool in commercial restoration.
The Common Failure Modes
The failures cluster into recognizable patterns:
- Sales effort without operational readiness. Winning work the shop cannot deliver damages reputation.
- Single-threaded relationships. Selling only to the property manager and missing the buying committee.
- Underestimating the cycle length. Treating a commercial cultivation cycle as a residential FNOL response and abandoning effort after 90 days.
- Mispricing the first job. Pricing the trial job to win at any cost and establishing an unsustainable rate baseline for the account.
- Capacity surprise. Winning a commercial loss the shop cannot resource without disrupting residential service, then under-delivering on both.
Each of these failures is avoidable with deliberate sequencing. Each of them is common in shops that treated commercial as residential at scale.
How Long Does the Transition Take?
Realistic timeline for a residential-led restoration shop to build a meaningful commercial revenue stream: 18 to 36 months from the operational readiness audit through the third or fourth commercial account producing recurring work. Faster transitions are possible with a senior commercial sales hire, but the underlying market-entry mechanics do not compress below 12 months.
The shops that report disappointing results from commercial entry typically committed to the effort for 12 months or less, then concluded that commercial does not work for their market. The structural answer is that commercial cultivation cycles outlast 12-month commitments.
The Honest Investment Question
Commercial restoration entry is an investment, not a marketing campaign. The investment includes a senior commercial sales hire (or substantial owner time), conference and chamber memberships, target-account research tools, and the operational upgrades the readiness audit surfaces. Operators who treat the investment as discretionary marketing spend rarely follow through on the cultivation cycle long enough to see the return.
The operators who do follow through tend to build a commercial revenue stream that becomes the most stable and highest-margin part of the business. The math works. The patience is the constraint.
Frequently Asked Questions
Can a residential restoration shop add commercial work?
Yes, but treat it as a market-entry project, not a marketing tactic. The buyer, sales cycle, documentation expectation, pricing model, and capacity demands all differ from residential work. Shops that follow a deliberate market-entry sequence — operational readiness, network membership, broker relationships, named-account cultivation, first job, account expansion — succeed at meaningfully higher rates than shops that approach commercial as larger residential.
How long does it take to break into commercial restoration?
A realistic timeline is 18 to 36 months from operational readiness audit through the third or fourth commercial account producing recurring work. Faster transitions are possible with senior sales investment, but the underlying market-entry mechanics do not compress below 12 months.
What certifications do I need for commercial restoration?
Commercial buyers expect IICRC certifications appropriate to the work — WRT and ASD as a baseline, with AMRT, FSRT, and the higher-tier credentials adding credibility for specialty work. Insurance limits, safety documentation, and OSHA-compliant practices are also typical onboarding requirements.
How big should my target account list be?
Most shops manage a target list of 40 to 75 named commercial accounts per sales rep, with quarterly touchpoint cadence. Higher counts dilute the relationship depth that the commercial sales motion depends on.
Should I hire a dedicated commercial sales rep?
If commercial is a serious growth direction and the owner cannot personally maintain quarterly touchpoints across the named-account list, a dedicated sales rep is the structural answer. Below that threshold, the owner can usually carry the pipeline directly.
Continue with the Restoration Operator’s Playbook for more on operationalizing commercial work.