Quick answer: Capers + Olives (2933 Colby Ave, Everett) is a seasonal Italian-inspired bistro run by chef/owner Jimmy Liang, who trained at The Herb Farm. Menu changes every two weeks based on local farms. Hours: Mon–Sat 4pm–9pm. Happy hour 4–5pm and 8–9pm. 4.6 stars, 413+ Yelp reviews. (425) 322-5280.
There’s a restaurant at 2933 Colby Ave in downtown Everett that’s been quietly earning 4.6 stars on Yelp from 413-plus diners over several years, and if you haven’t heard of it, that’s partly by design. Capers + Olives doesn’t market itself hard. Chef and owner Jimmy Liang doesn’t chase trends. The menu changes every two weeks, sometimes more often, based on what local farms and suppliers have available. If something isn’t right this week, it doesn’t go on the menu this week.
This is how great Italian restaurants have always worked. It’s just not how most restaurants in Everett work. Which is why Capers + Olives is the one we keep coming back to.
The Chef: Jimmy Liang and The Herb Farm
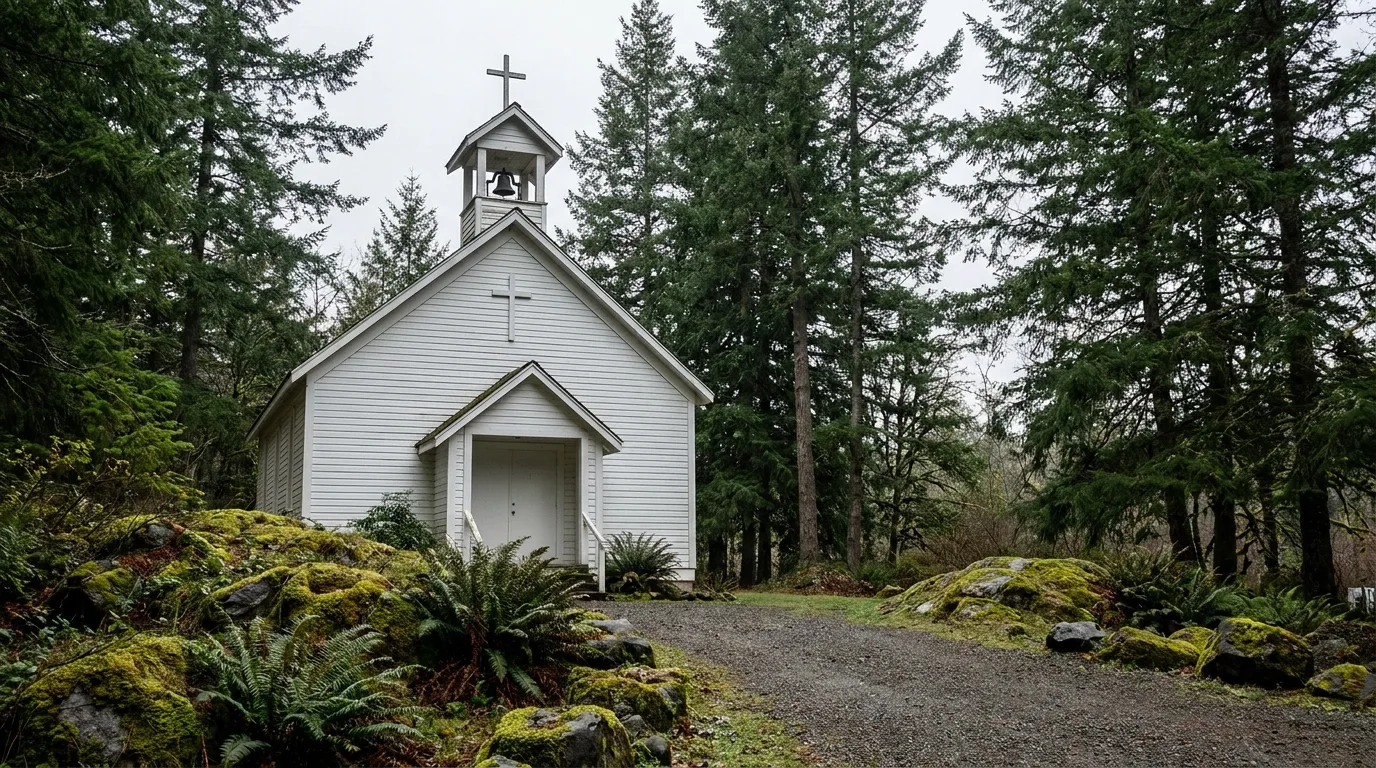
Jimmy Liang’s origin story is a good one. He started in Asian cuisine — which you can taste in the precision and restraint that shows up in his Italian preparations — but his first love was always Italian food. His culinary anchor was an internship at The Herb Farm, the legendary Woodinville destination that essentially wrote the rulebook for Pacific Northwest farm-to-table dining over its 30-plus years in operation.
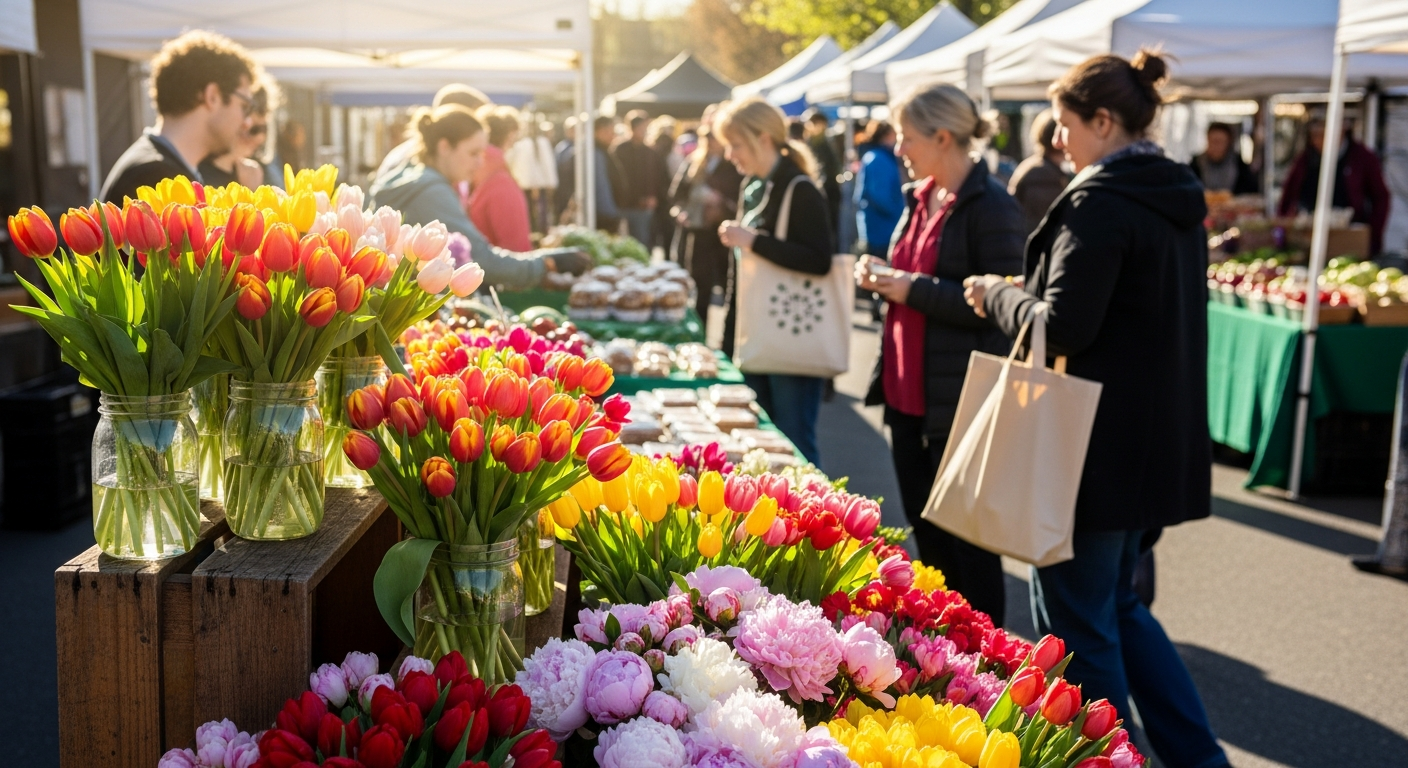
The Herb Farm’s influence shows in Liang’s sourcing philosophy: nothing goes on the menu until he’s talked to his farmers and suppliers. The menu is seasonal not as a marketing claim but as a literal operating constraint. If peonies are blooming and the ranunculus is done, the menu reflects that rhythm. If fennel sausage is available from the right supplier, it appears. If it’s not, it doesn’t.
What to Order (With the Caveat That It Might Not Be There Next Week)
The menu shifts fast enough that specific dishes are moving targets, but certain things tend to anchor the experience. The homemade focaccia is almost always present, and it’s the best version of itself: properly blistered, oily in the right way, crusty enough to serve as a structural element in the meal. Order it. Don’t share more than necessary.
The Castelvetrano olives are a house constant — bright, buttery, mild, not the jarred-grocery-store version. The homemade burrata with pear, currant, and pistachios is the kind of dish you think about the week after you had it. The contrast between the fresh dairy, the fruit, and the nuttiness of the pistachios is the dish in a sentence.
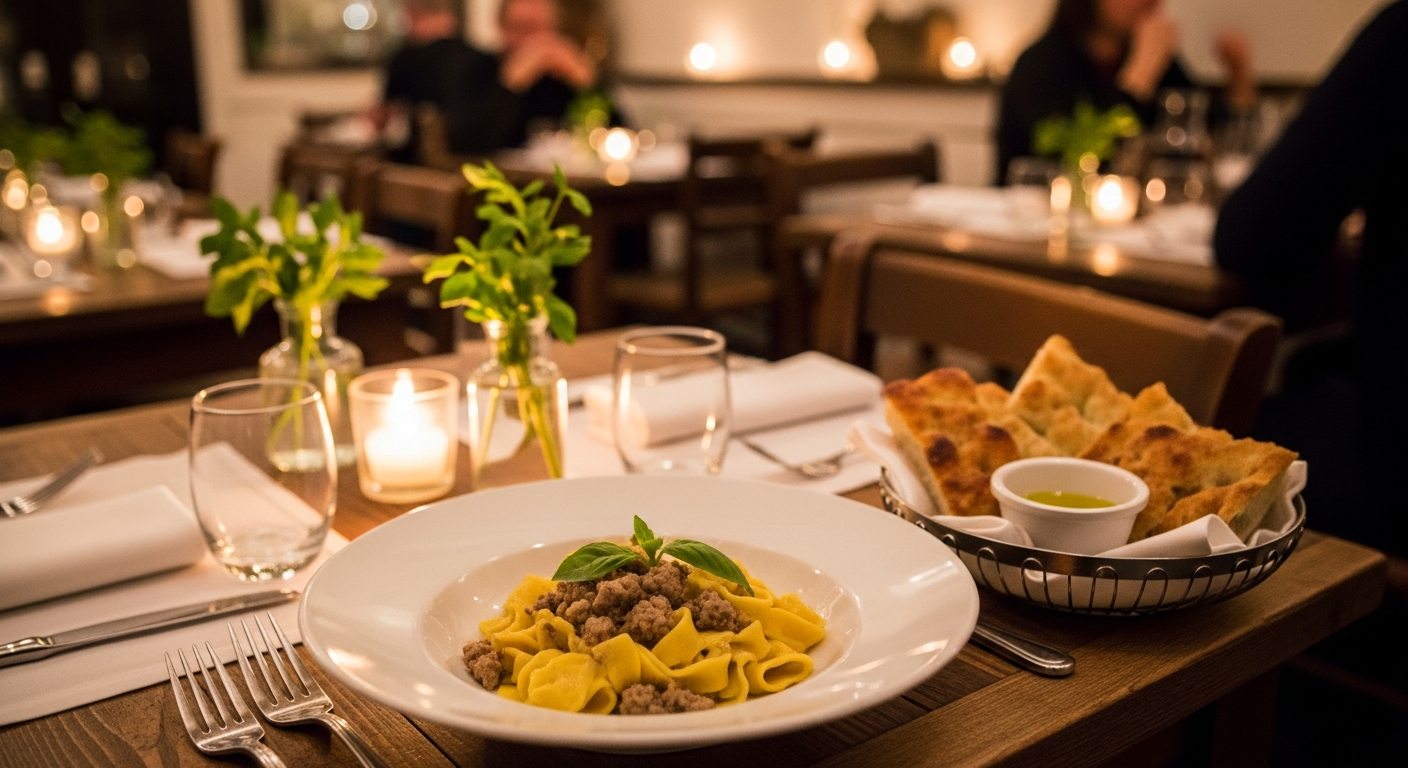
The pasta with fennel sausage and cabbage is a recurring seasonal anchor — hearty and precise and less showy than it sounds on paper. And then there’s Liang’s signature: a three-ingredient spaghetti made with pasta imported from Italy, where the point is not complexity but perfection. Three good things, made right, nothing hidden. It’s the dish that makes you understand why he trained where he trained.
All pasta beyond the imported spaghetti is made fresh in-house daily. This matters. You can taste the difference between fresh pasta made that morning and pasta that came out of a bag three days ago, and at Capers + Olives it always tastes like this morning.
The Space: Small, Warm, Serious
Capers + Olives is a small room — bistro-scale, intentionally so. The energy is warm and slightly hushed in the good way restaurants get when the food is the main event and the décor doesn’t compete with it. Cozy armchair atmosphere isn’t how we’d describe it; it’s more like: the lighting is right, the tables have space between them, and whoever is running the front of house knows the menu well enough to answer questions confidently.
It’s a good first date restaurant. It’s a good “we just got promoted / got engaged / need to mark the occasion” restaurant. It’s not a loud group party venue — bring four people max and keep the conversation to the table.
Hours, Happy Hour, and When to Go
Open Monday through Saturday, 4pm to 9pm. Closed Sunday. Happy hour runs 4–5pm and again 8–9pm — the split happy hour is an unusual and generous move. The 4–5pm window makes this one of the better after-work stops in downtown Everett. The 8–9pm late happy hour is for people who ate dinner somewhere else and want to end the night right.
Call ahead or check their website before you go — the restaurant is small enough that on a busy Friday or Saturday, walk-ins can face a wait. (425) 322-5280.
How It Fits in Everett’s Italian Landscape
We covered Luca Italian Restaurant & Wine Bar on Hewitt Avenue earlier this season — Bepi from Florence, Vincenzo from Sicily, a deep Italian wine list, the real cream-free carbonara. Luca is fine dining, European-trained, occasion-worthy in the “special dinner” sense.
Capers + Olives is something different: casual-elegant, PNW-informed, rotating with the seasons. The two restaurants don’t cannibalize each other. Luca gives you Florence and Sicily. Capers + Olives gives you the Pacific Northwest filtered through an Italian sensibility. They’re solving different problems.
If you’ve only been to one and not the other, you’re missing half the picture of what Italian food in downtown Everett actually is in 2026.
The Verdict
Jimmy Liang built a genuinely excellent restaurant in downtown Everett and has been running it at a high level for years without much fanfare. The menu philosophy — seasonal, local, changes every two weeks, the farmers decide before the chef does — is the right one, and the execution reflects it. The pasta is fresh. The focaccia is worth the trip. The burrata will follow you home.
Capers + Olives deserves to be fully booked on a Friday. Go, and tell someone about it.
Capers + Olives
2933 Colby Ave, Everett, WA 98201
(425) 322-5280 | capersandolives.com
Mon–Sat: 4pm–9pm | Closed Sunday
Happy Hour: 4–5pm and 8–9pm
Frequently Asked Questions
Where is Capers + Olives in Everett?
2933 Colby Ave, Everett, WA 98201 — downtown Everett, between Everett Ave and Pacific Ave.
What cuisine does Capers + Olives serve?
Seasonal Italian-inspired farm-to-table cuisine. The menu changes every two weeks based on what local Pacific Northwest farms and suppliers have available.
Who is the owner of Capers + Olives Everett?
Chef and owner Jimmy Liang, who trained at The Herb Farm, one of the Pacific Northwest’s most respected farm-to-table restaurants.
What are Capers + Olives hours?
Monday–Saturday 4pm–9pm. Closed Sunday. Happy hour 4–5pm and 8–9pm daily.
Does Capers + Olives take reservations?
Call (425) 322-5280. The restaurant is small — calling ahead on weekends is strongly recommended.
What should I order at Capers + Olives?
The homemade focaccia, Castelvetrano olives, burrata with pear and pistachio, and whatever pasta is on the rotating menu. The three-ingredient imported spaghetti is the signature.
How is Capers + Olives rated?
4.6 stars across 413+ Yelp reviews as of February 2026.