Updated September 30, 2026.
Place a data-logging hygrometer at center-span height (12–24 inches above the floor) in your crawl space, target below 60% RH (below 50% for sealed encapsulation), and read trends over weeks—not a single visit—to verify whether vapor control, dehumidification, or bulk water is driving moisture.
Logged RH over time separates summer condensation from rain-driven bulk water—the verification step after crawl space vapor barrier installation and dehumidifier commissioning. This guide covers device choice, placement, and how to read the curve.
What to Look for in a Crawl Space Humidity Monitor
Data logging capability
Spot readings show conditions when you are standing there; logging shows what happens overnight and after weather events. Aim for at least 30 days of history for encapsulated performance checks. On vented crawls, logging separates condensation (summer RH tracks outdoor humidity) from liquid entry (RH jumps within a day or two of rain).
Temperature range
Cold crawls can sit below freezing. Many consumer units are rated to 32°F; the Onset HOBO MX1101 operates to -4°F per Onset specs. SensorPush HT.w and similar models claim -40°F—useful when LCDs go blank but logging continues.
Wireless display and alerts
Bluetooth sensors store data until a phone syncs—fine if someone passes within range regularly. Add a WiFi gateway (Govee gateway, SensorPush G1) for remote alerts. After a crawl space inspection checklist, a logger you download once may be enough.
Recommended Device Types
- Govee H5075 ($20–$35): ~20 days onboard storage; CSV export in Govee Home. Bluetooth only unless you add Govee’s WiFi gateway.
- SensorPush HT.w ($55–$65 + optional G1): Water-resistant; ~45 days onboard per manufacturer; -40°F to 140°F rated.
- Inkbird IBS-TH Plus ($18–$30): Compact Bluetooth loggers for tight crawls—confirm storage duration in the manual for your model.
- Onset HOBO MX1101 ($95–$130): Research-grade accuracy; large memory; -4°F operating range per Onset.
- ThermoPro TP49 / AcuRite ($10–$20): Spot display, little history—OK for peeks through the access door, not trend proof.
Where to Place the Monitor
- Primary sensor: Center of the crawl at 12–24 inches above the floor, suspended from a joist—ambient air, not floor surface or rim joist microclimate.
- Wall diagnostic (optional): Within 6 inches of the foundation wall. Higher RH at the wall than center span flags wall moisture—review vapor barrier thickness and drainage if encapsulating.
- Near HVAC: Confirms whether equipment zones see corrosion-driving RH when center span looks fine.
- Away from: Supply air discharges, bare soil contact, condensate drips, sump splash, and open vents that create localized drafts or sun-heated pockets.
Interpreting Readings
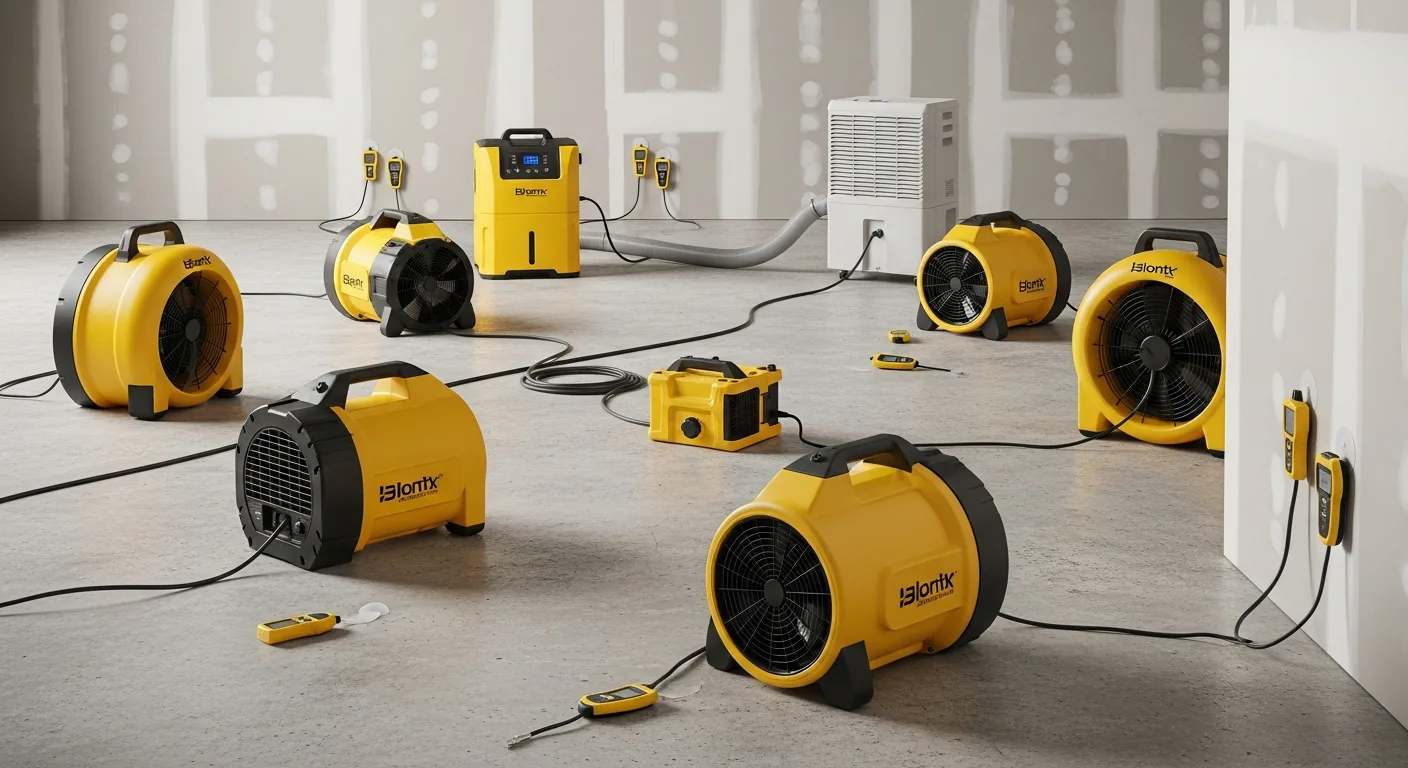
- Below 50% RH: Strong performance for a sealed, dehumidified crawl. Document the log for your file and recheck seasonally.
- 50–60% RH: Acceptable for many targets. Sustained time above 65% may mean dehumidifier setpoint, sizing, or leakage—tight sealing changes load (crawl space encapsulation energy savings).
- 60–70% RH: Elevated—check dehumidifier, liner breaches, plumbing, sump before calling it normal summer.
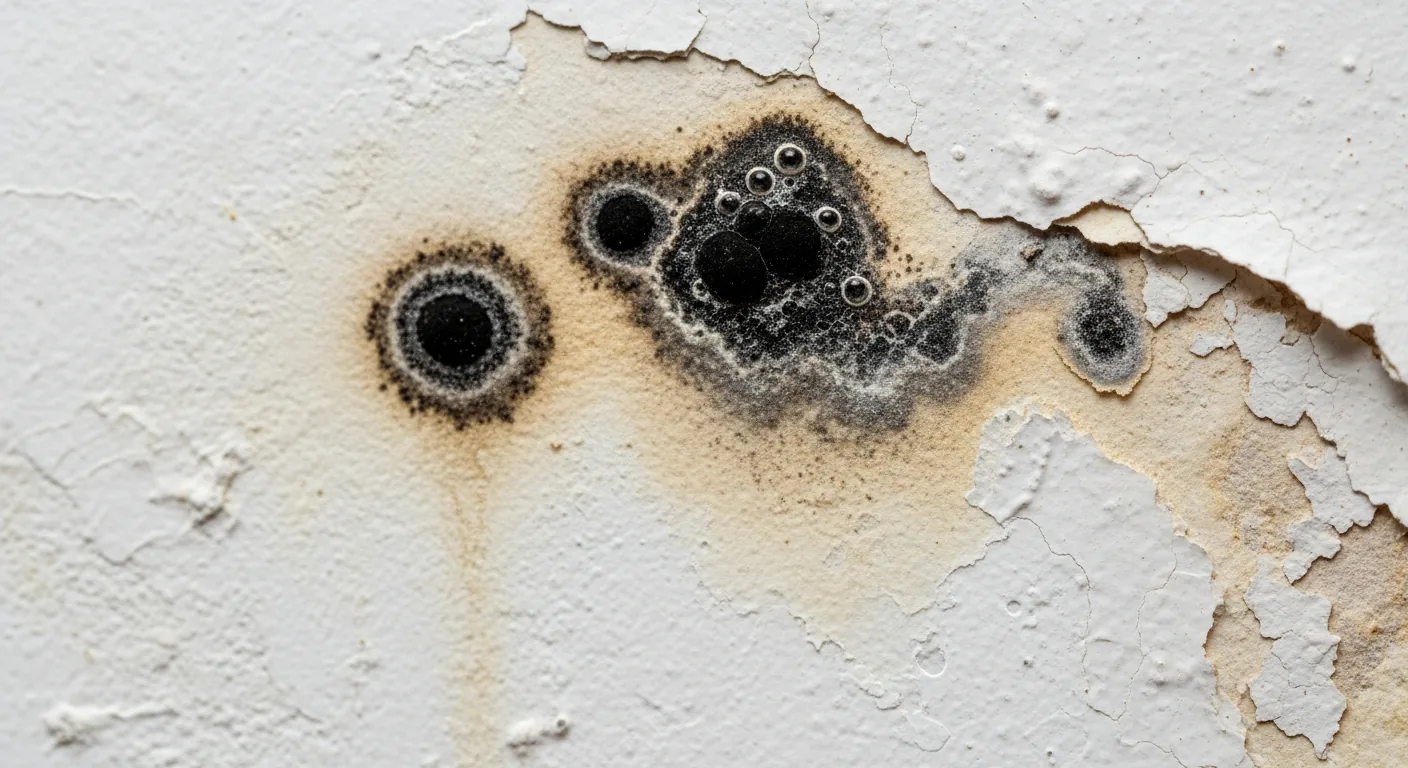
- Above 70% RH: Mold and decay risk. Encapsulated systems should not sit here; vented crawls need assessment (crawl space repair cost follows the mechanism, not the number on a chart).
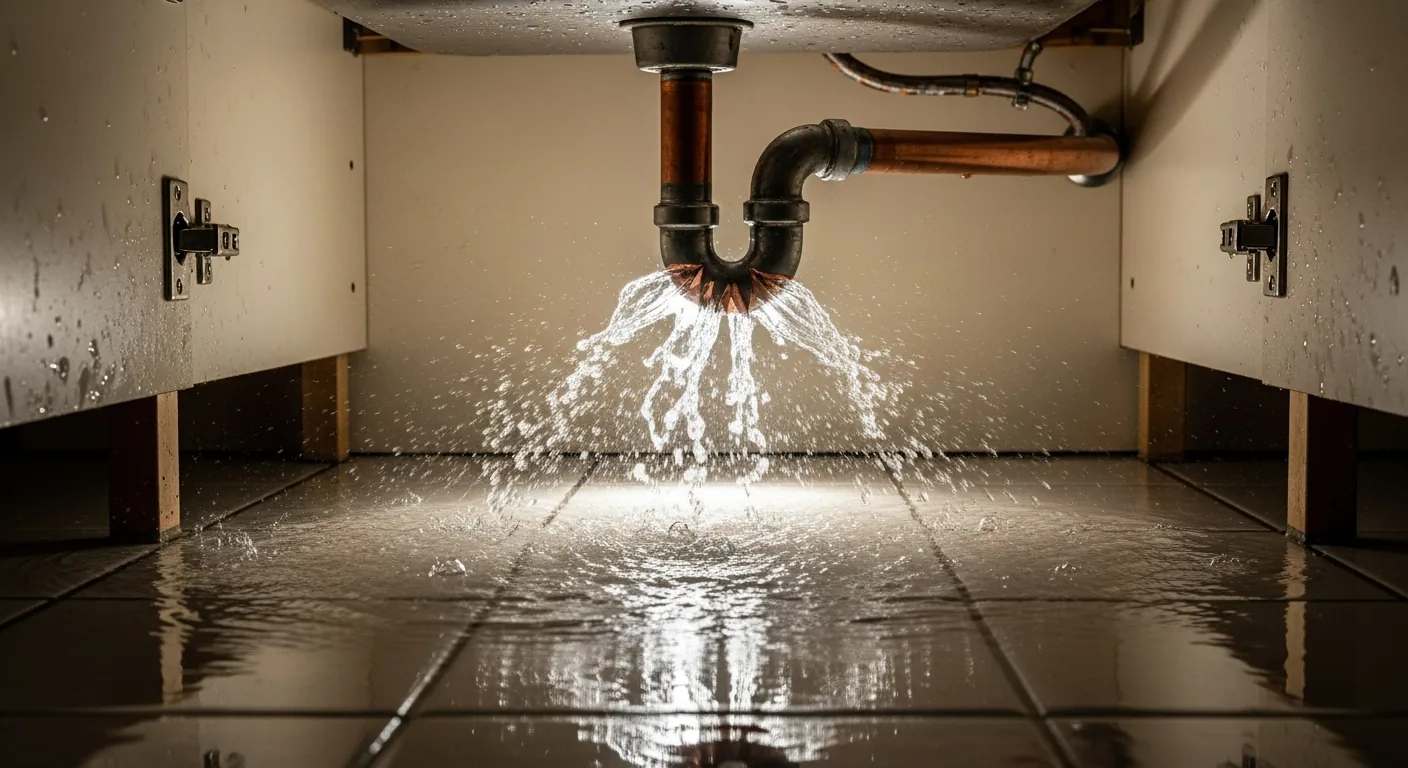
- RH spikes after rain: Bulk water—grading, gutters, drains, liner penetrations.
- Summer peaks without rain: Vented-crawl condensation pattern in humid climates.
Frequently Asked Questions
What is a good humidity level for a crawl space?
Below 60% relative humidity is the usual target for crawl spaces — it limits mold risk and keeps wood moisture content below decay thresholds. Below 50% is a common setpoint for a sealed, dehumidified crawl space after encapsulation. Above 70% means conditions can support mold growth and wood deterioration; treat that as a problem to investigate, not normal seasonal drift.
How do I check the humidity in my crawl space?
Hang a digital hygrometer in the center of the crawl space, 12–24 inches above the floor (breathing-zone height, not on dirt). Leave a data-logging sensor in place for at least two to four weeks so you capture daily cycles and weather swings. Bluetooth or WiFi models let you pull readings from the living space without crawling under the house every time.
How often should I check my crawl space humidity?
For an encapsulated crawl space with a dehumidifier on a setpoint, review a 30-day data log twice a year — once near peak summer humidity and once in winter. For a vented or unsealed crawl space you are watching for trouble, check logs monthly in humid months and less often in winter. If the sensor sends alerts when RH crosses a setpoint, you can rely on notifications instead of manual checks.
Do I need a WiFi hygrometer or is Bluetooth enough?
Bluetooth is enough if someone in the home passes within range of the sensor every few days so the app syncs stored readings. Choose WiFi or a Bluetooth gateway when you want alerts while traveling or when the crawl space is out of phone range from daily life — for example Govee sensors with a WiFi gateway, or SensorPush HT.w sensors with a G1 gateway.
Where should I not place a crawl space humidity sensor?
Keep the sensor out of the discharge path of supply ducts, off bare soil, and away from dripping plumbing or sump lines. Do not tuck it against foundation walls for your primary reading — use center-span height for baseline RH and a second sensor near the wall only when you are diagnosing wall moisture.