Water damage restoration keywords hit $250 per click in competitive markets. Fire restoration, mold remediation, biohazard cleanup – they’re not far behind. If you’re running Google Ads with a dumped-together campaign and hoping the phone rings, you are subsidizing your competitors’ retirement.
The restoration owners who actually make PPC work aren’t necessarily spending more. They’re spending smarter. This is what their campaigns look like – and where the common setups fall apart.
The Single-Campaign Trap
The most common setup I see: one campaign, one ad group, a mix of water damage, mold removal, fire restoration, and flood cleanup keywords all fighting each other. Every click gets the same generic ad. Every ad points to the homepage.
Here’s why that’s expensive. Google’s Quality Score – which directly sets your cost per click – is built on three signals: expected click-through rate, ad relevance, and landing page experience. When you stuff water damage and fire restoration into the same ad group, your ad relevance tanks for both. A restoration company with a Quality Score of 9 can outrank a competitor bidding twice as much with a Quality Score of 5. Poor structure can inflate your CPC by 30% or more while delivering fewer qualified leads.
The fix is not complicated, but it requires discipline:
- Campaign 1 – Emergency Water Damage: Ad groups for emergency water extraction, burst pipe, basement flooding, sewage backup. Separate ad copy for each. Landing page that opens with emergency water damage, not your homepage.
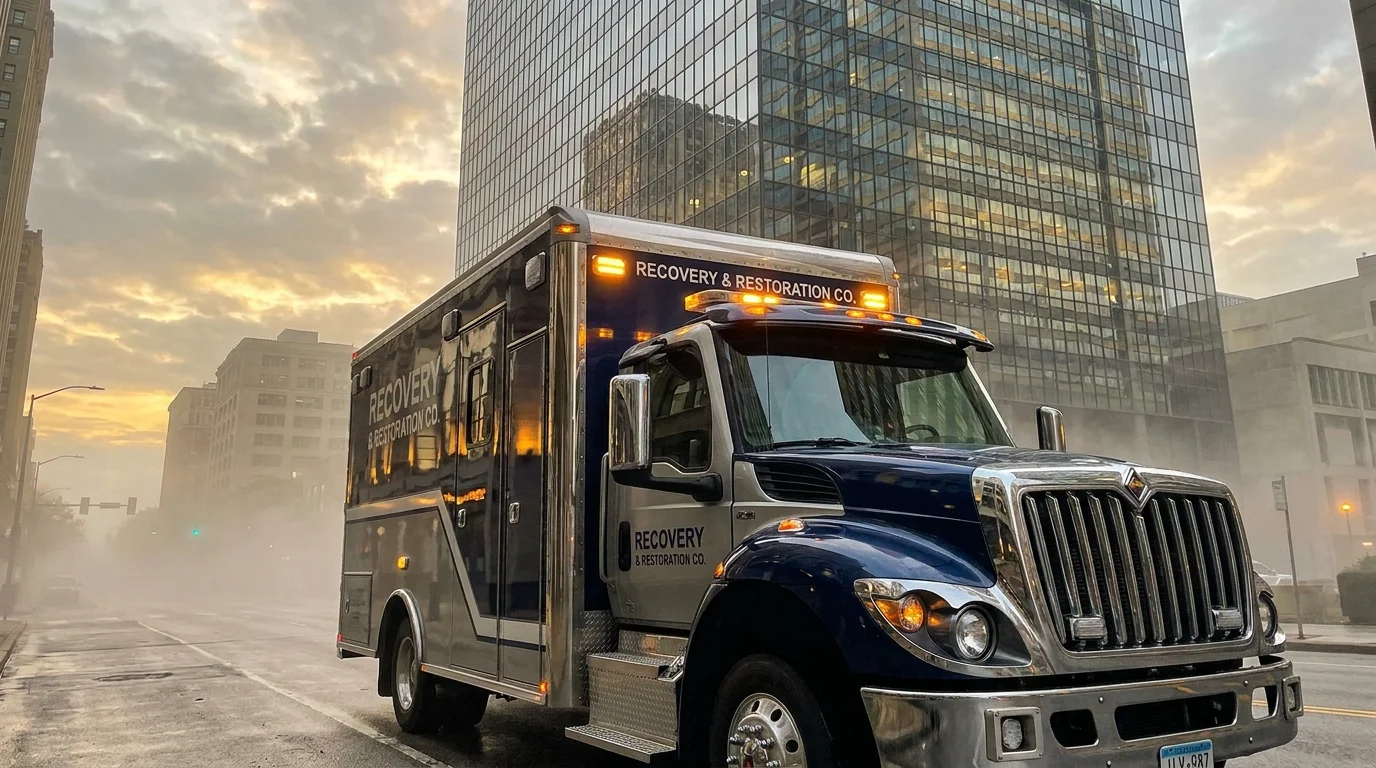
- Campaign 2 – Fire and Smoke Restoration: Fire damage, smoke damage, soot removal. Different calls-to-action – fire jobs are longer projects, different sales conversation.
- Campaign 3 – Mold Remediation: Mold testing, black mold removal, mold inspection. This is often a separate buyer with a different timeline.
Each ad group should have 10-20 tightly related keywords. Every keyword in the group needs to logically fit the same ad and the same landing page. If they don’t, split them.
What CPCs Actually Look Like in 2025-2026
Emergency restoration keywords in competitive metros – Atlanta, Dallas, Phoenix, Miami – routinely hit $80-$150 per click. Premium terms like “emergency water damage restoration” have been reported as high as $250 per click in certain markets.
At those CPCs, your cost per lead depends almost entirely on your landing page conversion rate. A page converting at 8% on a $100 CPC keyword produces a $1,250 cost per lead. Tighten that to 15% conversion and you’re at $667 per lead. On a $15,000 water damage job, either number can work – if you close it. On a $3,500 mold job, you need to be much more careful about which keywords you’re running.
Average lead costs by channel, for context:
- Google LSA (Local Services Ads): $100-$200 per verified lead in most markets
- Google PPC (traditional Search Ads): $200-$400 per qualified lead when structured properly; $400-$700+ when not
- Organic SEO (year 3+): Under $25 per lead once content and authority are built
This is not a case against PPC. It’s a case for understanding what you’re buying. LSA leads are cheaper but lower volume and dependent on Google’s automated credit system. PPC gives you scale and control – but the control only works if your campaigns are set up to exercise it.
Negative Keywords: The Bill You’re Not Seeing
Most restoration PPC campaigns have weak or nonexistent negative keyword lists. Every day your campaign runs without them, you’re paying for clicks from job seekers searching “water damage restoration jobs near me,” DIY researchers searching “how to do water damage restoration yourself,” students searching for training programs, and equipment renters who aren’t calling you for service.
Campaigns that actively manage their negative keyword list see 10-20% lower wasted spend and 5-15% improvement in conversion rate. On a $10,000/month ad budget, that’s $1,000-$2,000 per month currently going to irrelevant clicks.
Build your seed negative list before the campaign launches. Pull your Search Terms Report weekly for the first 60 days. Add exact match negatives first; only go broader if the data supports it. Over-blocking with broad match negatives will starve your campaign of volume you actually want.
Bidding Strategy: Stop Fighting the Machine
78% of Google Ads spend now runs through Smart Bidding – Target CPA, Target ROAS, Maximize Conversions. Advertisers using AI bidding report roughly 22% lower cost per conversion compared to manual CPC on average.
For restoration companies, the right bidding strategy depends on your data:
- Under 30 conversions per month in a campaign: Use Maximize Clicks with a CPC cap while you accumulate data. Smart Bidding needs signal to work; starving it on a new campaign produces garbage results.
- 30+ conversions per month: Move to Target CPA. Set your target based on actual job margins, not aspirational ones. If a water damage job averages $12,000 and you close 25% of qualified leads, you can afford a $300 CPL target and still profit. If you’re closing less than 15%, fix your sales process before you fix your bidding.
- Large campaigns with consistent job data: Target ROAS becomes viable, but you need accurate revenue tracking wired into Google Ads – something most restoration companies don’t have configured properly.
A qualified water damage lead that converts to a full job is a 14x-100x return on ad spend. The problem is rarely the channel – it’s losing track of where the leads went after the phone call.
The Landing Page Problem Nobody Talks About
You’ve fixed the campaign structure, added negatives, set a Target CPA. Your CPC is still $90. You’re still not closing leads.
Check your landing page. If your ad says “Emergency Basement Flooding – 24/7 Response” and your landing page is your homepage with a hero image of a happy family and a form below the fold, you’re burning the top-of-funnel work you just paid for.
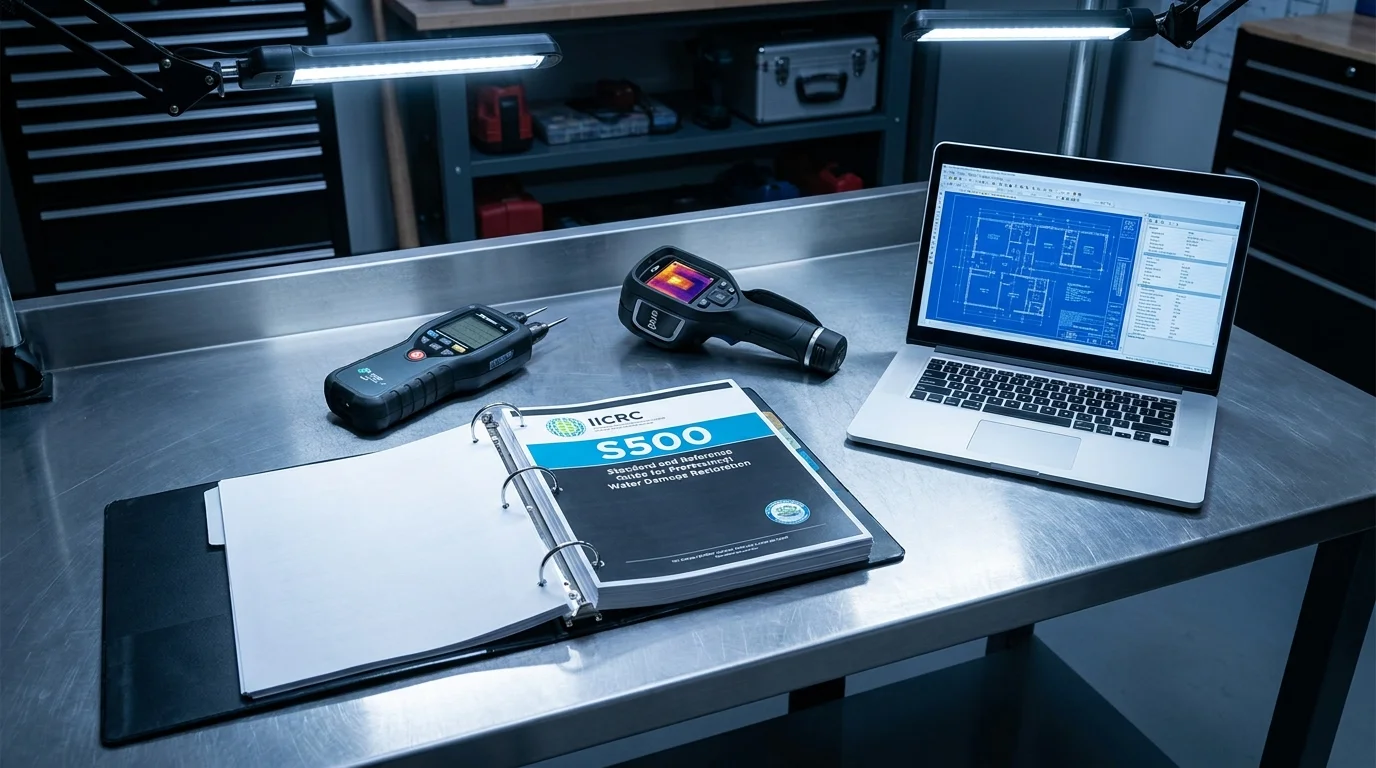
A restoration PPC landing page needs: the emergency service name in the H1 above the fold, a click-to-call phone number prominent on mobile, a response time claim if you can back it up, one short form (name, phone, zip, issue), and proof elements – reviews, IICRC certification, insurance logos.
Do not send PPC traffic to your homepage. Do not build one landing page for all services. Match the ad to the page, the page to the ad group, the ad group to the keyword cluster. That chain is where Quality Score lives.
Budget Sizing for Competitive Markets
Ballpark monthly budgets to be competitive on emergency restoration keywords:
- Mid-size market (pop. 200K-500K): $3,000-$6,000/month to generate 15-30 leads
- Major metro (pop. 1M+): $8,000-$15,000/month to maintain consistent visibility
- Specific suburb or tight service area: $1,500-$3,000/month if geo-targeting is tight and Quality Score is managed
These are Search campaign figures only. If you’re also running Performance Max, give it a separate campaign and separate budget so you can see what your Search investment is actually doing. PMax’s black-box reporting will otherwise obscure whether Search is working.
Bottom Line
Google Ads works for restoration companies that treat it as an engineering problem, not a set-it-and-forget-it expense. The contractors winning on PPC have siloed campaigns by service, loaded negatives before launch, let Smart Bidding mature on real conversion data, and matched every landing page to its ad group.
The ones losing money are running one campaign, one ad group, a hundred keywords, and pointing everything at a homepage built by someone who has never answered a restoration emergency call.
If your current PPC agency can’t show you separate service campaigns, a negative keyword list with at least 50 entries, and a dedicated landing page for each major service – find one that can. At $100+ per click, the cost of a weak setup compounds fast.